Skin Preset Editor
The skin preset editor allows you to load skins from a wide range of sources, such as usernames, UUIDs and files.
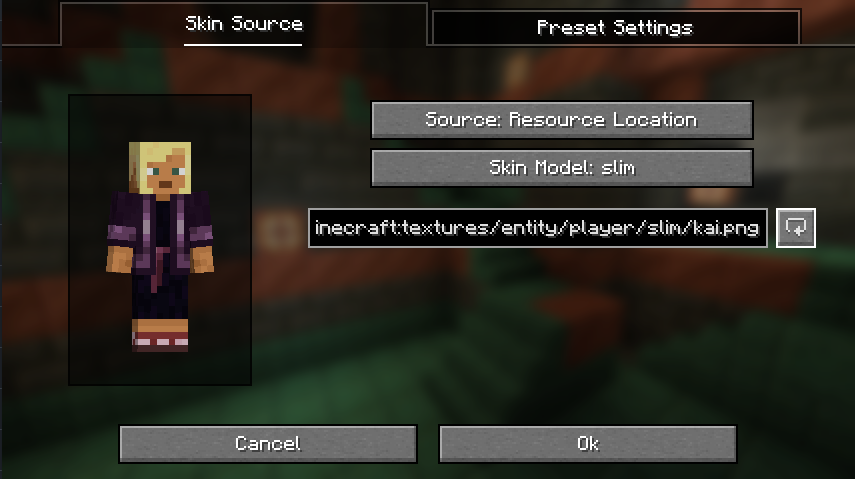
Resource Location Source
Simply type the resource location into the text box and click the refresh button to load the skin into the preview.
Vanilla has the following resource locations for skins, you can add more via a resource pack:
minecraft:textures/entity/player/wide/alex.pngminecraft:textures/entity/player/wide/ari.pngminecraft:textures/entity/player/wide/efe.pngminecraft:textures/entity/player/wide/kai.pngminecraft:textures/entity/player/wide/makena.pngminecraft:textures/entity/player/wide/noor.pngminecraft:textures/entity/player/wide/steve.pngminecraft:textures/entity/player/wide/sunny.pngminecraft:textures/entity/player/wide/zuri.pngminecraft:textures/entity/player/slim/alex.pngminecraft:textures/entity/player/slim/ari.pngminecraft:textures/entity/player/slim/efe.pngminecraft:textures/entity/player/slim/kai.pngminecraft:textures/entity/player/slim/makena.pngminecraft:textures/entity/player/slim/noor.pngminecraft:textures/entity/player/slim/steve.pngminecraft:textures/entity/player/slim/sunny.pngminecraft:textures/entity/player/slim/zuri.png
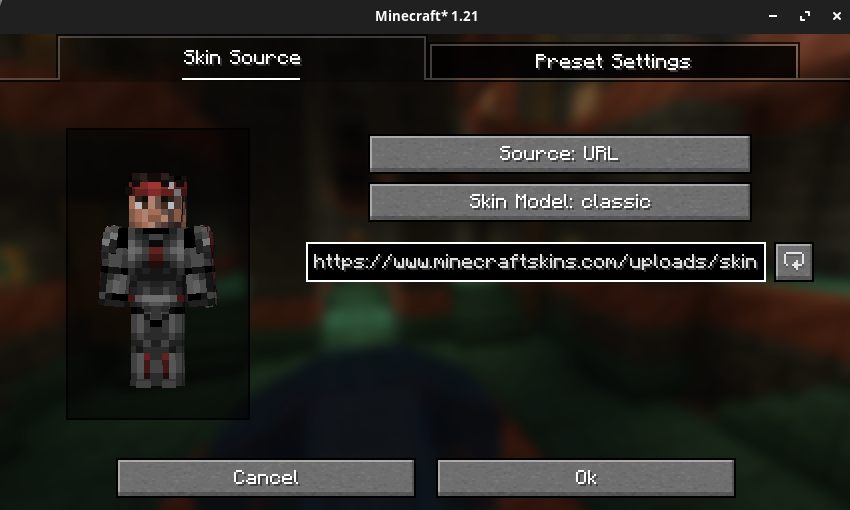
URL Source
Simply paste the URL into the text box and click the refresh button to load the skin into the preview.
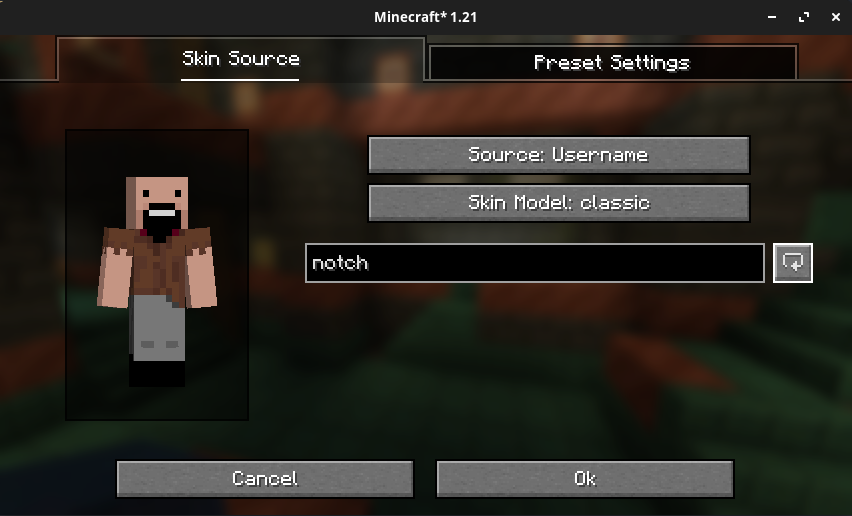
Username Source
Simply type the username into the text box and click the refresh button to load the username's skin into the preview.
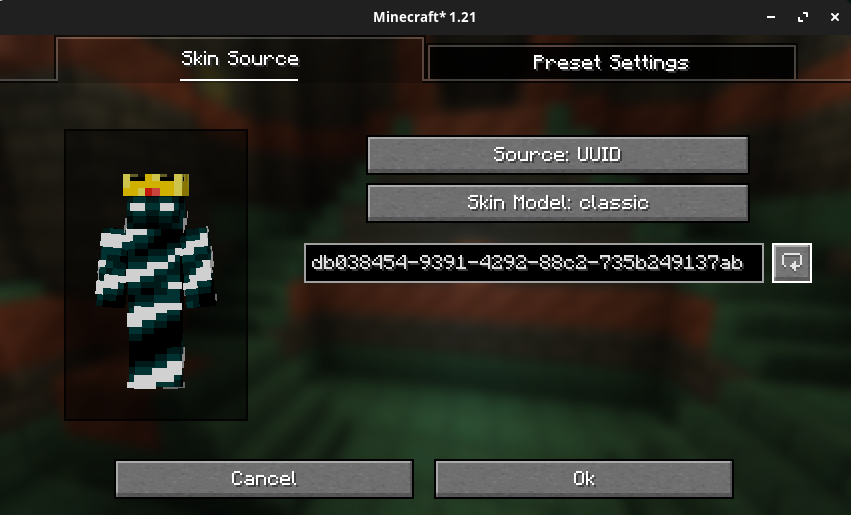
UUID Source
TIP
You can find player UUIDs on websites such as NameMC.
Simply type the UUID into the text box and click the refresh button to load the account with the associated UUID's skin into the preview.
File Source
If you've downloaded a skin texture file from the internet, make sure that it is in .png format.
Windows
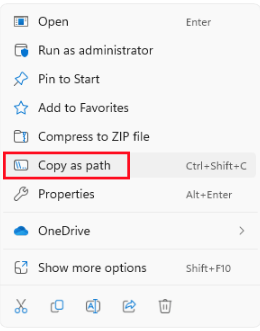
On windows, you must right click on the file, and select Copy as Path:
Linux/MacOS
For Linux and MacOS, you can simply right click on the file and select Copy.
Loading the Skin
Next, open the Skin Shuffle preset editor, select the File source type, and click the textbox and then paste using Ctrl+V.
Finally, use the refresh button to load the skin into the preview before saving the preset.
